5S on the floor – marking storage areas
Maintaining order in the warehouse doesn't always require reorganizing processes, new shelving, or a week of downtime. Sometimes, it's enough to designate spaces for items that are already there.
What exactly is a storage area?
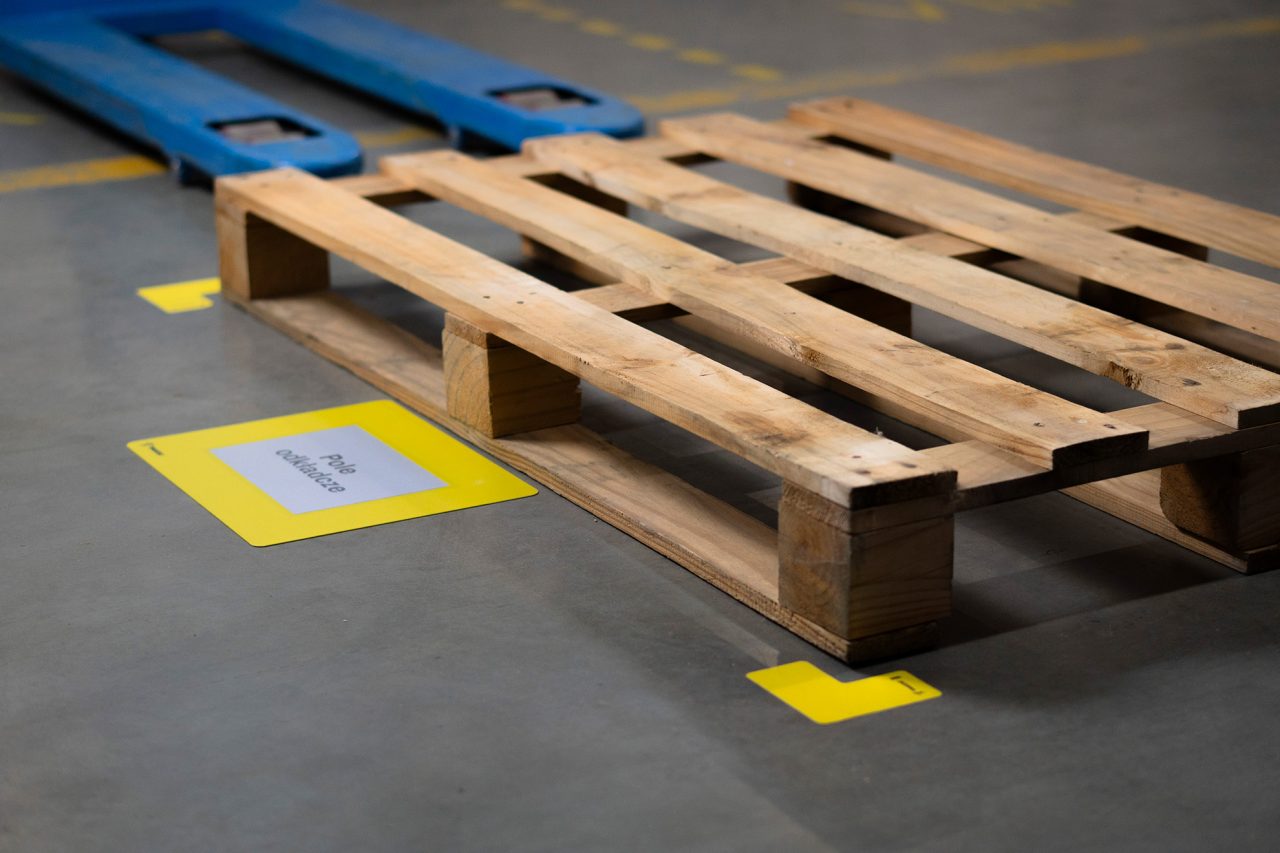
A storage area is a designated area on the floor where a specific item, pallet, or container is to be placed. Unfortunately, without visible markings, it's just a theory. If an employee can't see the boundaries of the area, they place it wherever there's space. The next pallet lands next to it. The next one moves the previous one. It becomes a mess, the pallets are shuffled, employees change, and suddenly no one knows where to look for something.
marking Floor begins 5S, and if you're new to this topic, Leantrix offers training courses that explain this philosophy from the ground up.
How do floor markers work?
A floor marker is a sticker that marks the boundaries of a storage area. Instead of painting the entire surface, you only apply adhesive to the corners or edges. The effect is clear and the effort is minimal.
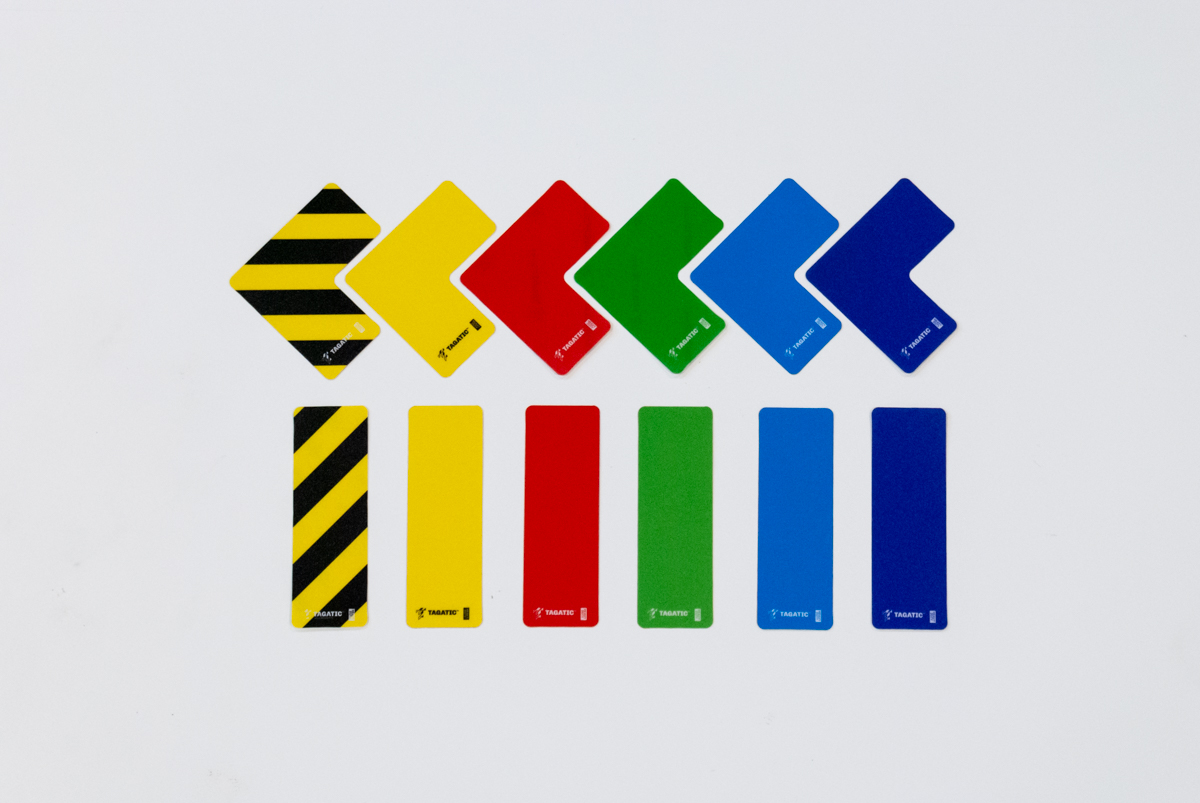
There are four shapes to choose from:
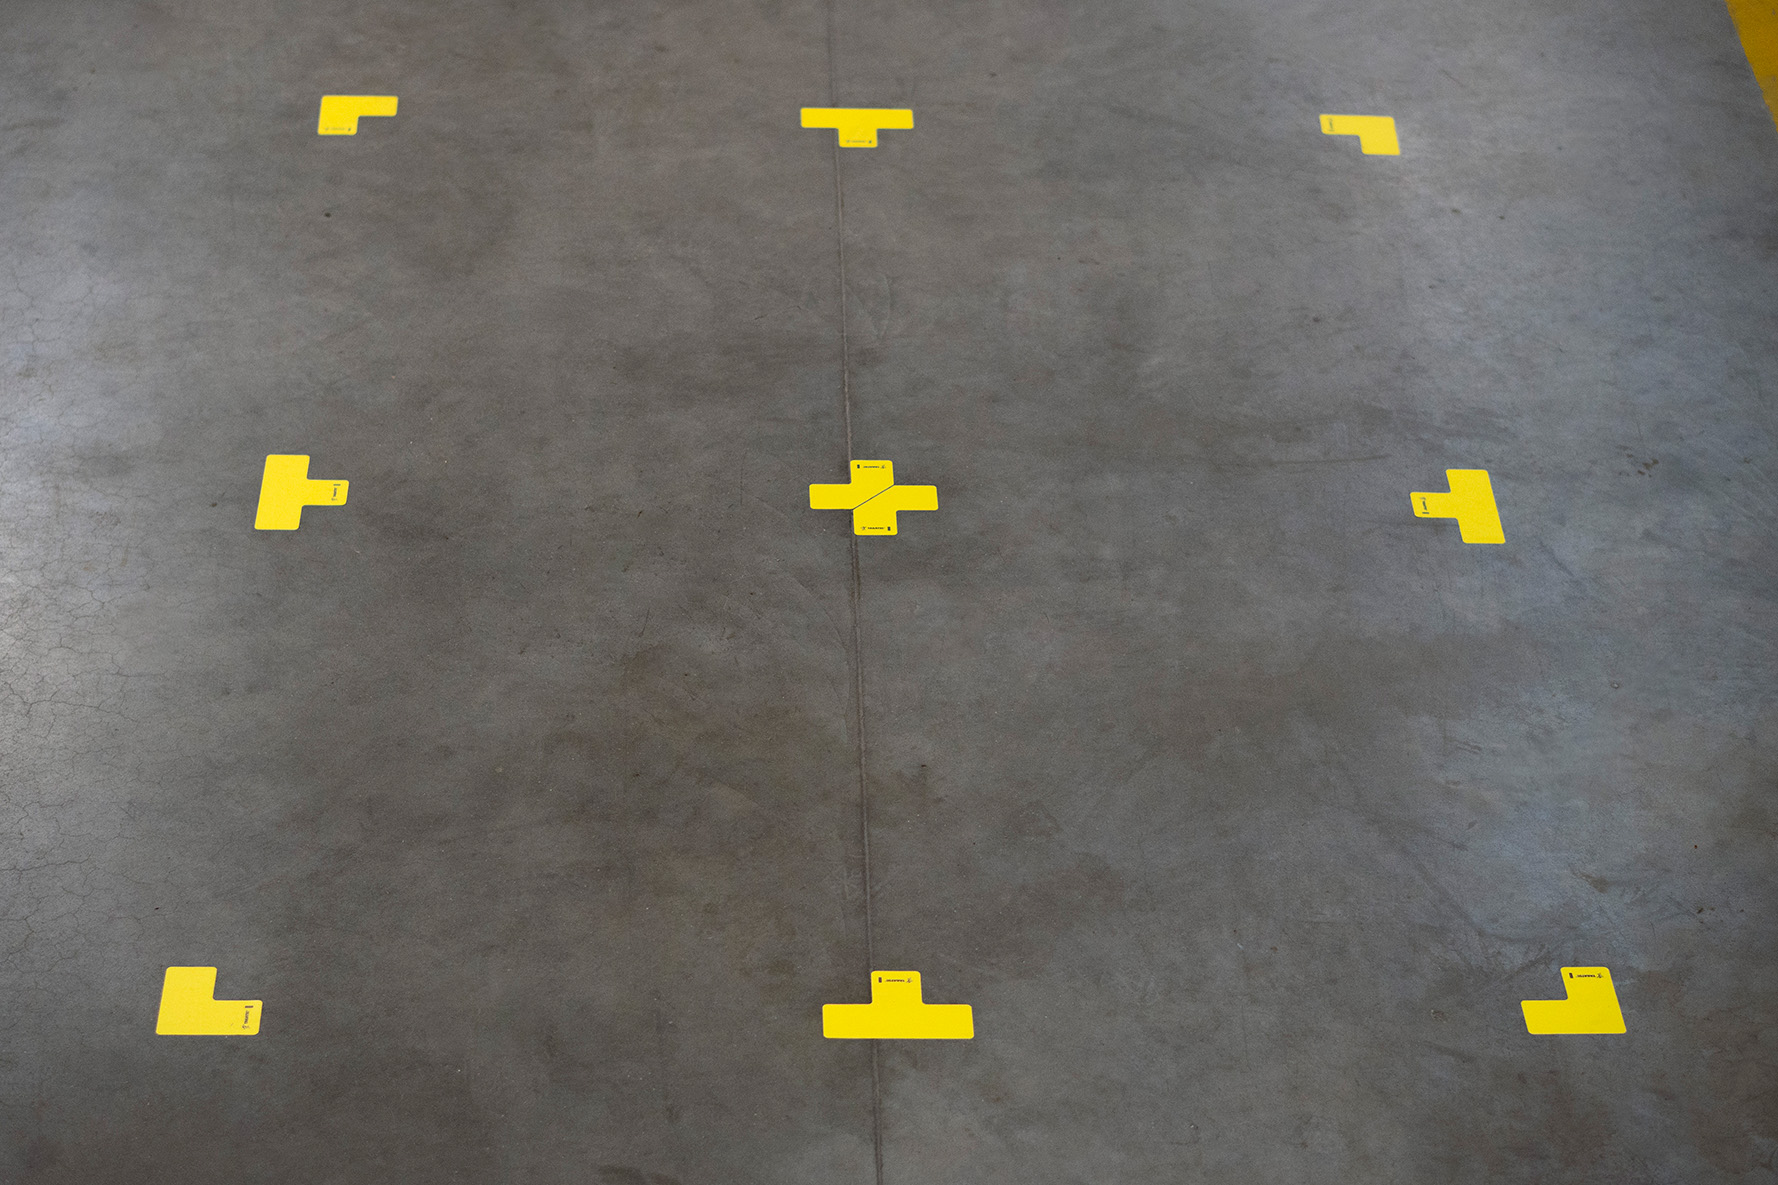
- The "full L" is a classic corner, most often used for pallet storage areas. Four corners define a complete area.
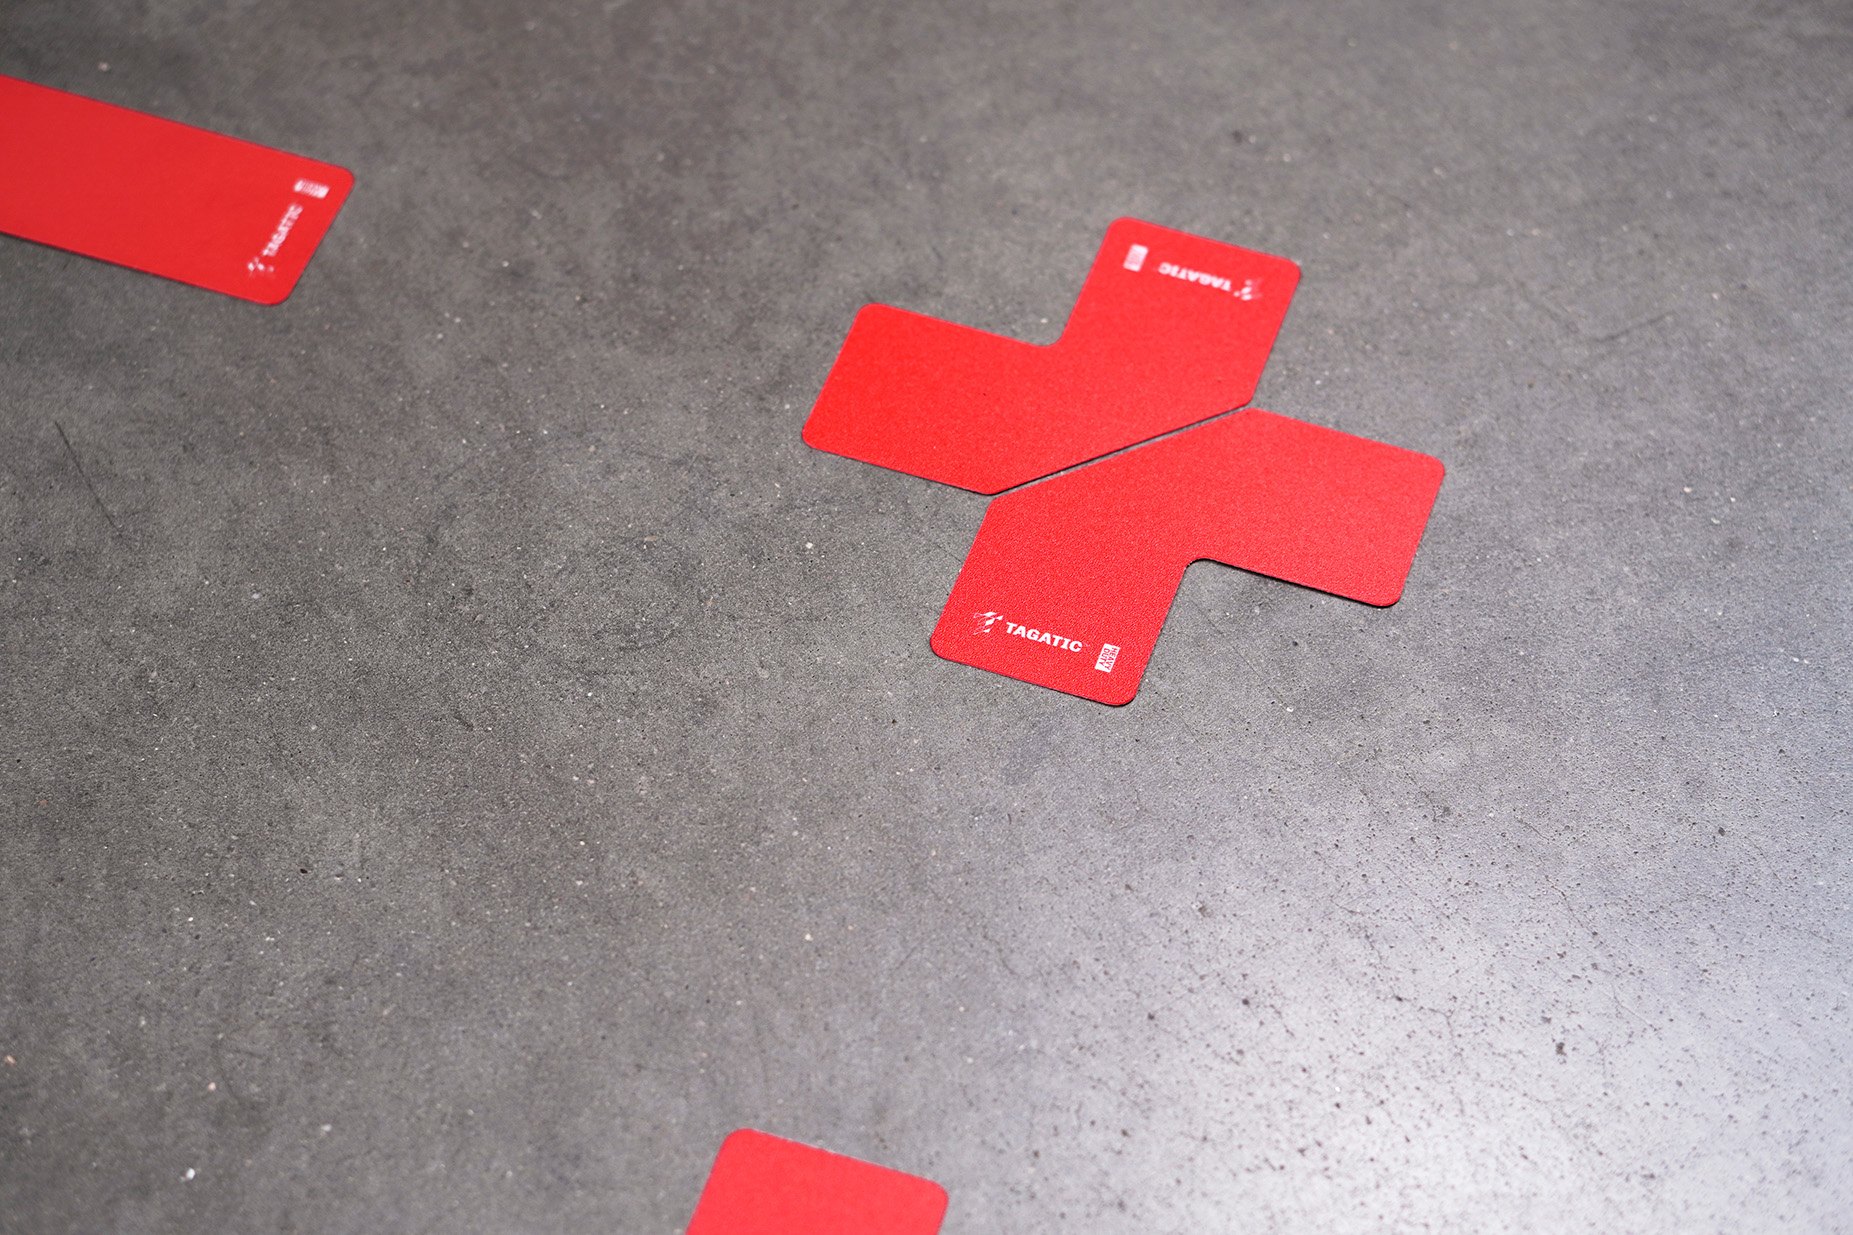
- A "modular L" looks like a corner with a cut-off inner corner. Two such elements placed opposite each other create an X, dividing one large area into four smaller zones. Useful wherever you want to distinguish quarters of a single area without gluing eight separate corners.
- "T" works well where storage areas are adjacent and share a common edge. Instead of two separate labels, one is sufficient.
- “I” is used to mark straight lines, for example the edge of a transport road or a long storage area.
Choice of width: 50, 75 or 100 mm. The more intense the movement, the wider the line and the more visible it is from a distance.
Which variant should I choose?
The markers are available in three strength versions.
Basic is suitable for pedestrian traffic and hand pallet trucks. It has an R9 anti-slip coating. Suitable for warehouses with moderate traffic.
Professional can withstand the passage of light trolleys. Also anti-slip (R9). An intermediate version, proven in most production halls.
Heavy Duty is an option for areas where forklifts operate. Very strong adhesive, resistant to industrial washers. There's no compromise here.
What about line painting?
Stickers have a huge advantage over painting. You can apply them yourself, instantly, without interrupting production. The zone employee glues the corners, and the zone is immediately ready for use.
Painting the lines can be more durable, but not always. One of our clients operated in an environment where metal shavings were embedded in forklift wheels, causing the decals to peel off after four weeks. A paint job was tried, which lasted six weeks, but each re-painting required stopping the area, finding a company, waiting for it to dry, and only then returning to work. In this case, the decals, despite their shorter lifespan, proved to be a more convenient operational solution.
The choice between decals and paint always depends on the specifics of your facility. If you're not sure which solution will work for you, you can order a Sample Box and test the materials in your environment before committing to an entire zone.
Colors matter
The markers are available in eight standard colors: yellow, blue, red, navy blue, green, yellow-black, white, and black. And it's not just about aesthetics.
Color conveys information. Yellow traditionally marks transport routes and passageways. Red signals hazardous areas or non-conforming goods. Green can indicate finished goods, while blue, for example, indicates raw materials. If you establish and describe this logic for your facility, every new employee will know what to put where from day one, without question.
Where to start?
You don't have to label the entire warehouse at once. A good place to start is one area that generates the most chaos, often the receiving area or a buffer area near the production line. Mark the boxes, assign colors, and inform the team. After a few weeks, you'll see if the system is working.
If you want to test our solutions first, we offer a Sample Box, a set of samples that will allow you to see how the marker adheres to your floor, what it looks like after a week, and whether the chosen color is sufficiently visible from several meters away.